|
Home
Introduction
News
Dåseberga Gardens
Dåseberga Model Rail Road
Dåseberga Mech. Workshop
Benches and Storage
Hand Tools etc.
My Machines
Workshop Projects
Links & Litterature
|
Project - Pin Vice, type 1
To hold a small job between the fingers does not become easier as years pass by. It is greatly simplified if a pin vice is to hand. Such a vice is also quite easy to make for oneself, especially if you have access to a lathe.
I started out with apiece of 15x15 BMS (bright mild steel). Using a simple sketch and my C3 lathe I began work. The model i familiar and the sketch I used is shown below. This vice has both handle and jaws made from the same piece of metal, but there is a second type where the jaws are steel and the handle made from wood. In this particular case I choose the all-steel version.
I used my self-centering 4-jaw chuck to hold the work, but it works just as well with an individual 4-jaw or a 3-jaw. The difference is that it is more fiddly to set up. For the 3-jaw it is very useful to use a round sleeve (piece of pipe fitting over the square stock) which is then slitted to act as a collet. The result is a round item easy to hold in a 3-jaw.
Fig 1: Square bar in a sleeve for securing in a 3-jaw chuck.
The pin vice is simple to make but access to a lathe simplifies greatly. A 130 mm long piece of 15 by 15 mm BMS together with a 5 mm screw, a washer and a wing nut completes the needed material. The sketch I worked from is shown in Fig 2.
[bild 01]
Fig 2: Pin Vice Sketch.
The first thing I did was to drill the long hole though what was going to be thae handle. The square bar was set up and a starting hole drilled in the outer end with a 2/5 mm slocombe drill. I then changed to a well sharpened (new) 3 mm extra long drill.
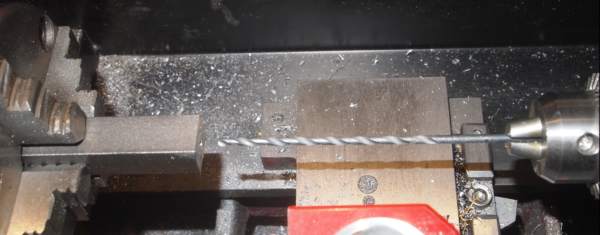
Fig 3: Ready to Drill.
This hole is quite long, just over 90 mm, so the drilling must take its time and be done slowly. Remove or back out the drill often to remove swarf. We do not want a broken drill 50 mm into the workpiece. I choose to drill around 1.5 to 2 mm at the time. I felt that by doing so I both limited the risk for broken drills, and the risk for the drill to wander off the center line. In Fig 3 we can see that I have come about 95 mm into the bar and the drilling is done.
By drilling this long hole through the handle, I allow very long and thin pieces to be held in the pin vice with ease.
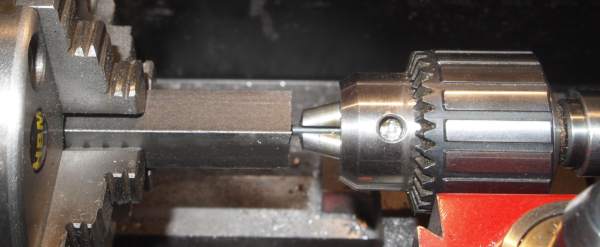
Fig 4: Drilling done.
The 3 mm hole was then opened up to 4 mm just to get enough room in the handle. Of course I could have drilled the hole 4 mm dia from the beginning, but this was a case of re-think during work. At this stage i also cleaned up the end and chamfered the hole lightly.
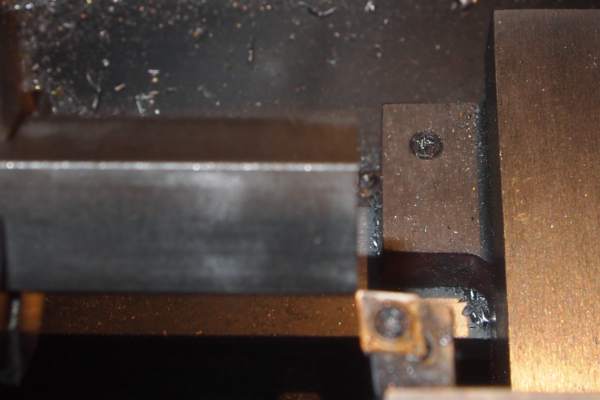
Fig 5: Cleaning up.
Next step was to turn away the square part of the handle into a 12 mm dia round one. This is done over 90 mm to provide a sufficient size for a handle. The work is still held in the square part in the 4-jaw chuck.
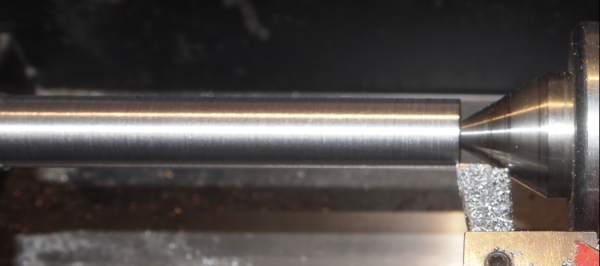
Fig 6: Turned down to 12 mm dia for knurling.
That done it is time to make the finger grip with the knurl. I choose a medium knurl made over about a 30 mm length of the bar close to the jaws to be. When I was pleased with the knurl, I turned the rest of the handle down to 10 mm so it would fit into my instrument makers vice.
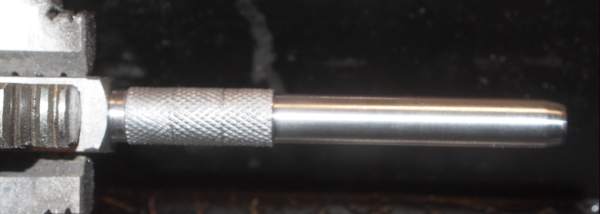
Fig 7: Handle Ready.
Now the handle part is ready and can be finished off (smoothened and "polished") before starting with the jaws. I began with making the square head rectangllar by milling off 1.5 mm from two opposing sides. Now the head is 15x12 mm. I marked out for a 10 mm hole and the ends of the slot in the head. I then set up the job in the milling vice and using a 12 mm dia slot drill opened up the slot. The result is a 2.5-ish thick piece below the jaws which I think is quite enough to be stable enough.
If you do not have a mill, it is just as easy to drill a few more holes and file the head to shape. It just takes a little longer but the result is the same.
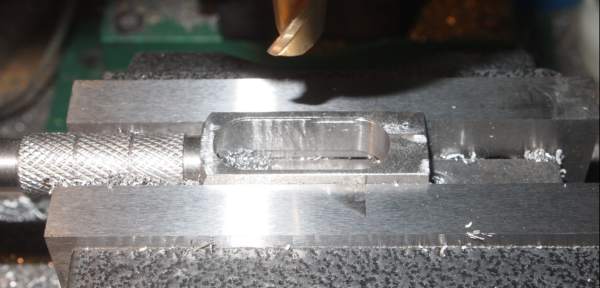
Fig 8: Milling done.
After final cleaning up and finishing off the pin vice looks as in Fig 9 below.
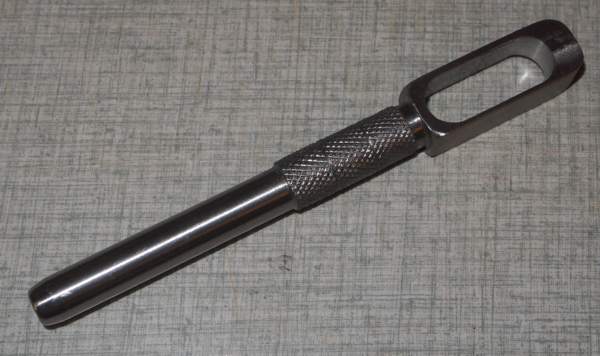
Fig 9: Machining done.
Time for the clamping screw, an ordinary M5 screw whos head has been adjusted to keep within the width of the clamp. The hole is a bit larger than 5 mm to give room for angularities. A 2mm crosshole is drilled through the screw to allow a 2 mm wire to pass through the screw and the handle. Finally, a 1.5 mm hole is drilled through the top of the jaws. This creates a vertical slot after the top has been split into two jaws. Use a fine-toothed junior hack-saw or a slot saw in the mill.
All machining is done and the job is cleaned up and finished as required. The result is a well functioning pin vice for handling small jobs.
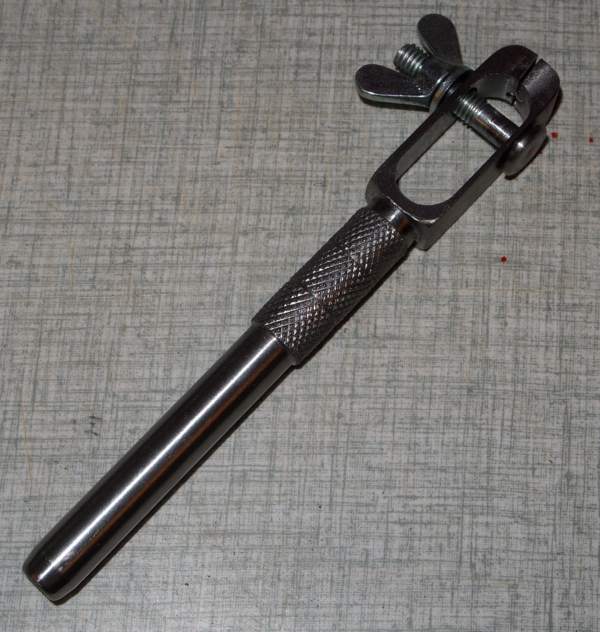
Fig 10: The finished item.
The pin vice is made to fit into my instrument makers vice as well. This gets me the sometimes necessary "third hand".
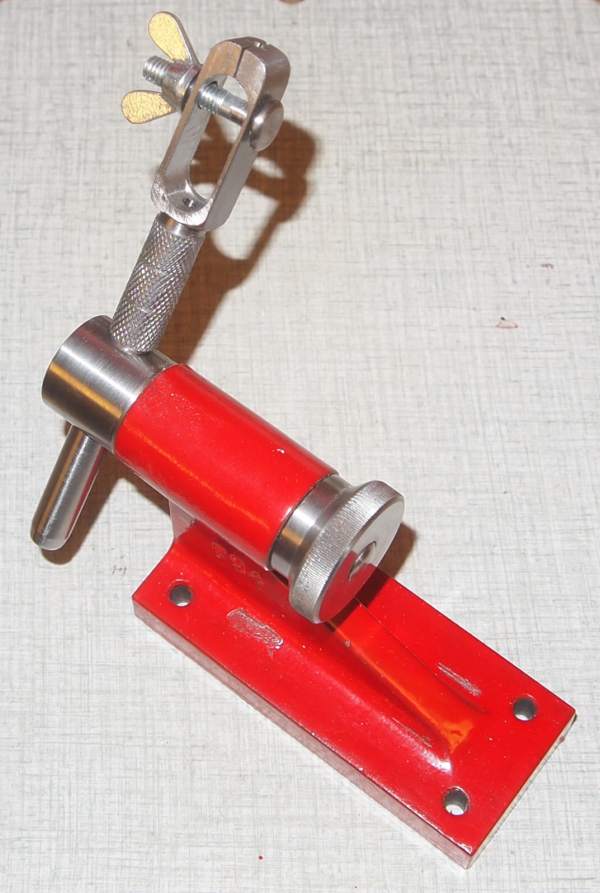
Fig 11: In the Instrument vice.
Hoppas detta gav lite ideer.
/Peter
|